We built a checkout so you don’t have to
Launch a branded, conversion-optimized signup for the German energy market. Our hosted checkout handles address validation, supplier search, IBAN, plausibility checks, and accessibility. Customers land on a per-plan subdomain derived fromplans.slug, fill out the form, and get redirected back to you once Nomos creates the subscription.
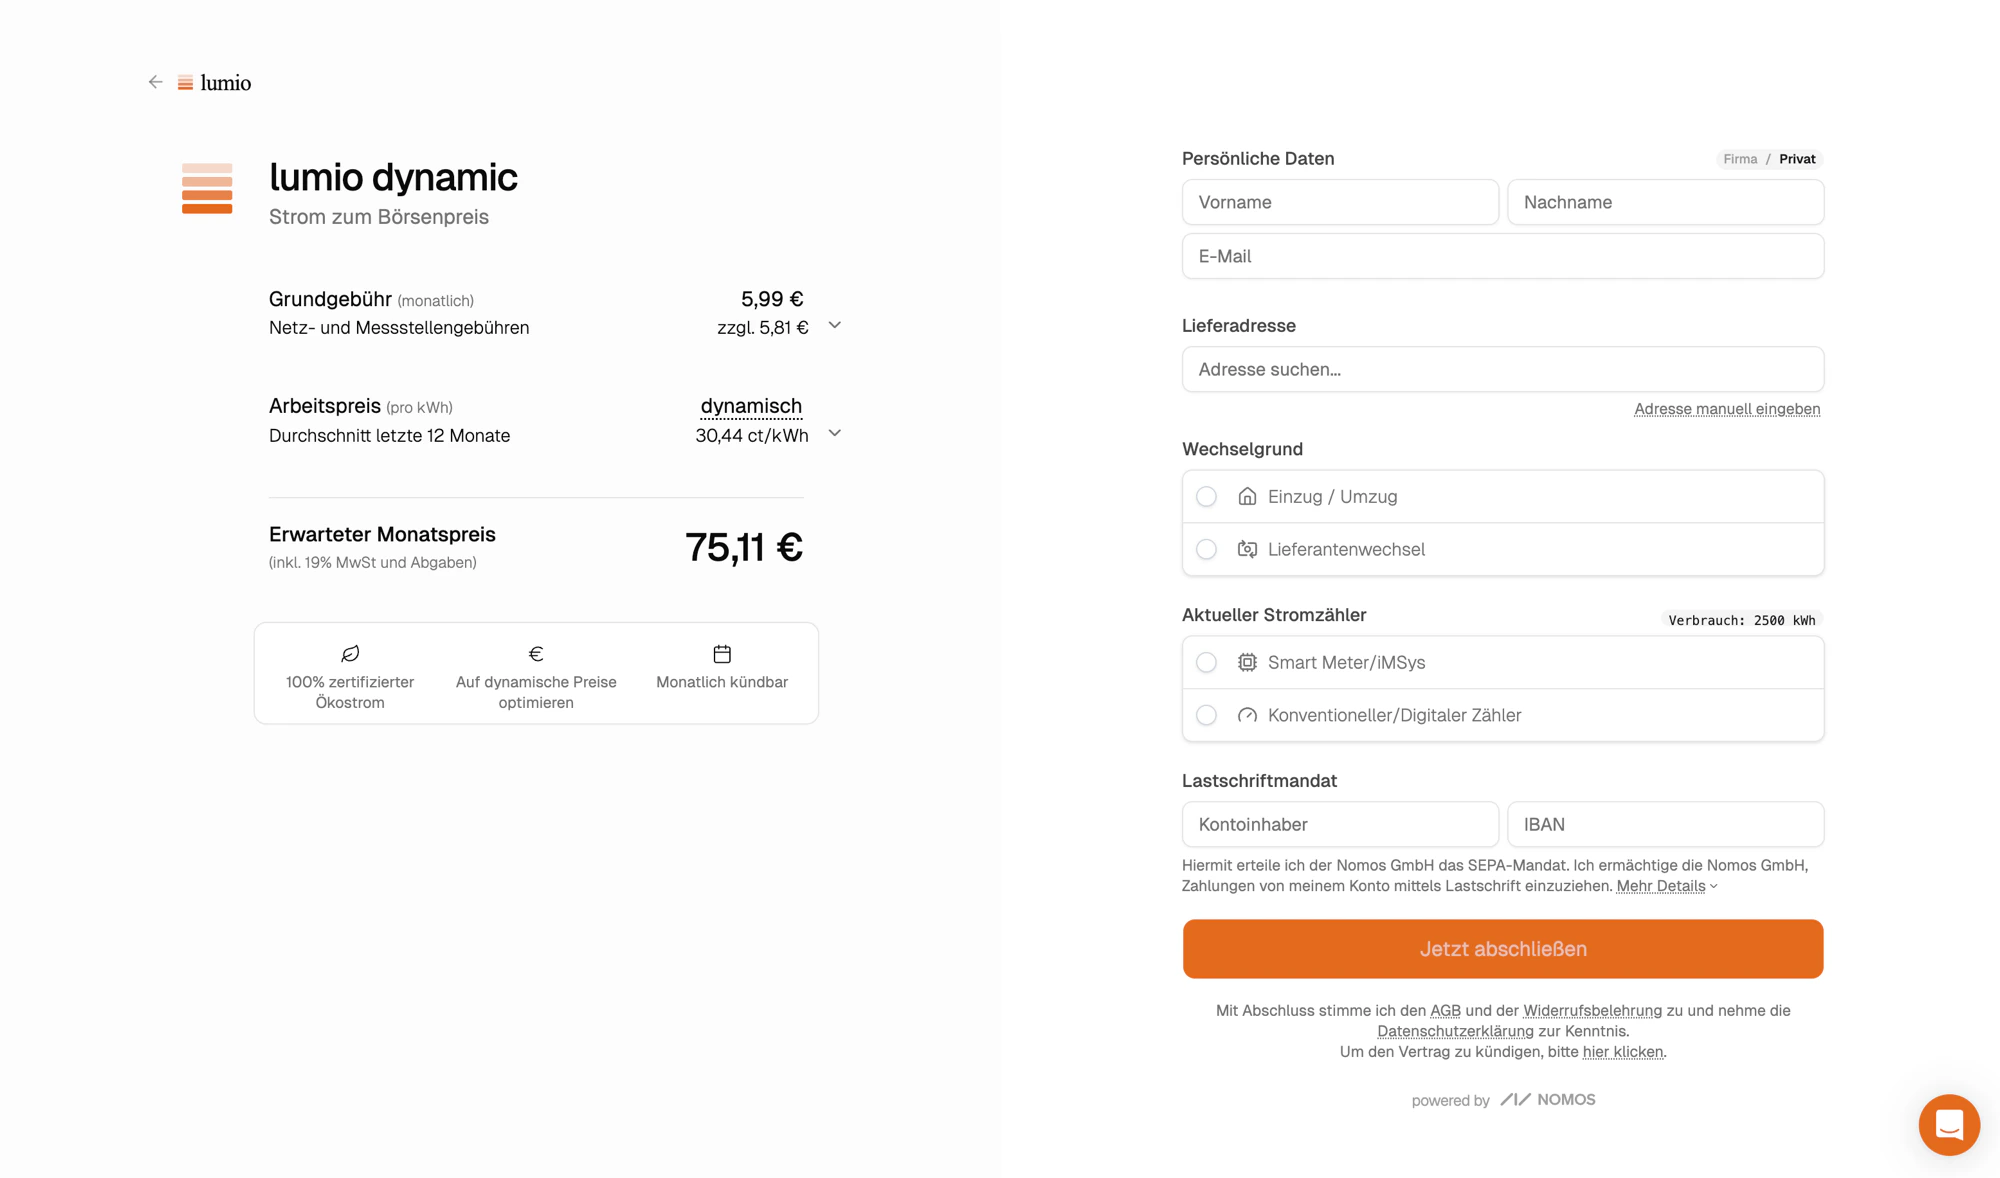
Example: a plan with slug lumio is reachable at lumio.checkout.energy, themed to your organization
Pre-fill query parameters
Pass through anything you already know about the customer and the form arrives pre-filled.- Fresh prospect
- Existing lead
- With attribution
https://lumio.checkout.energy/?zip=10115&usage=3500Redirect after submission
By default, Nomos shows a branded confirmation page once the form is submitted.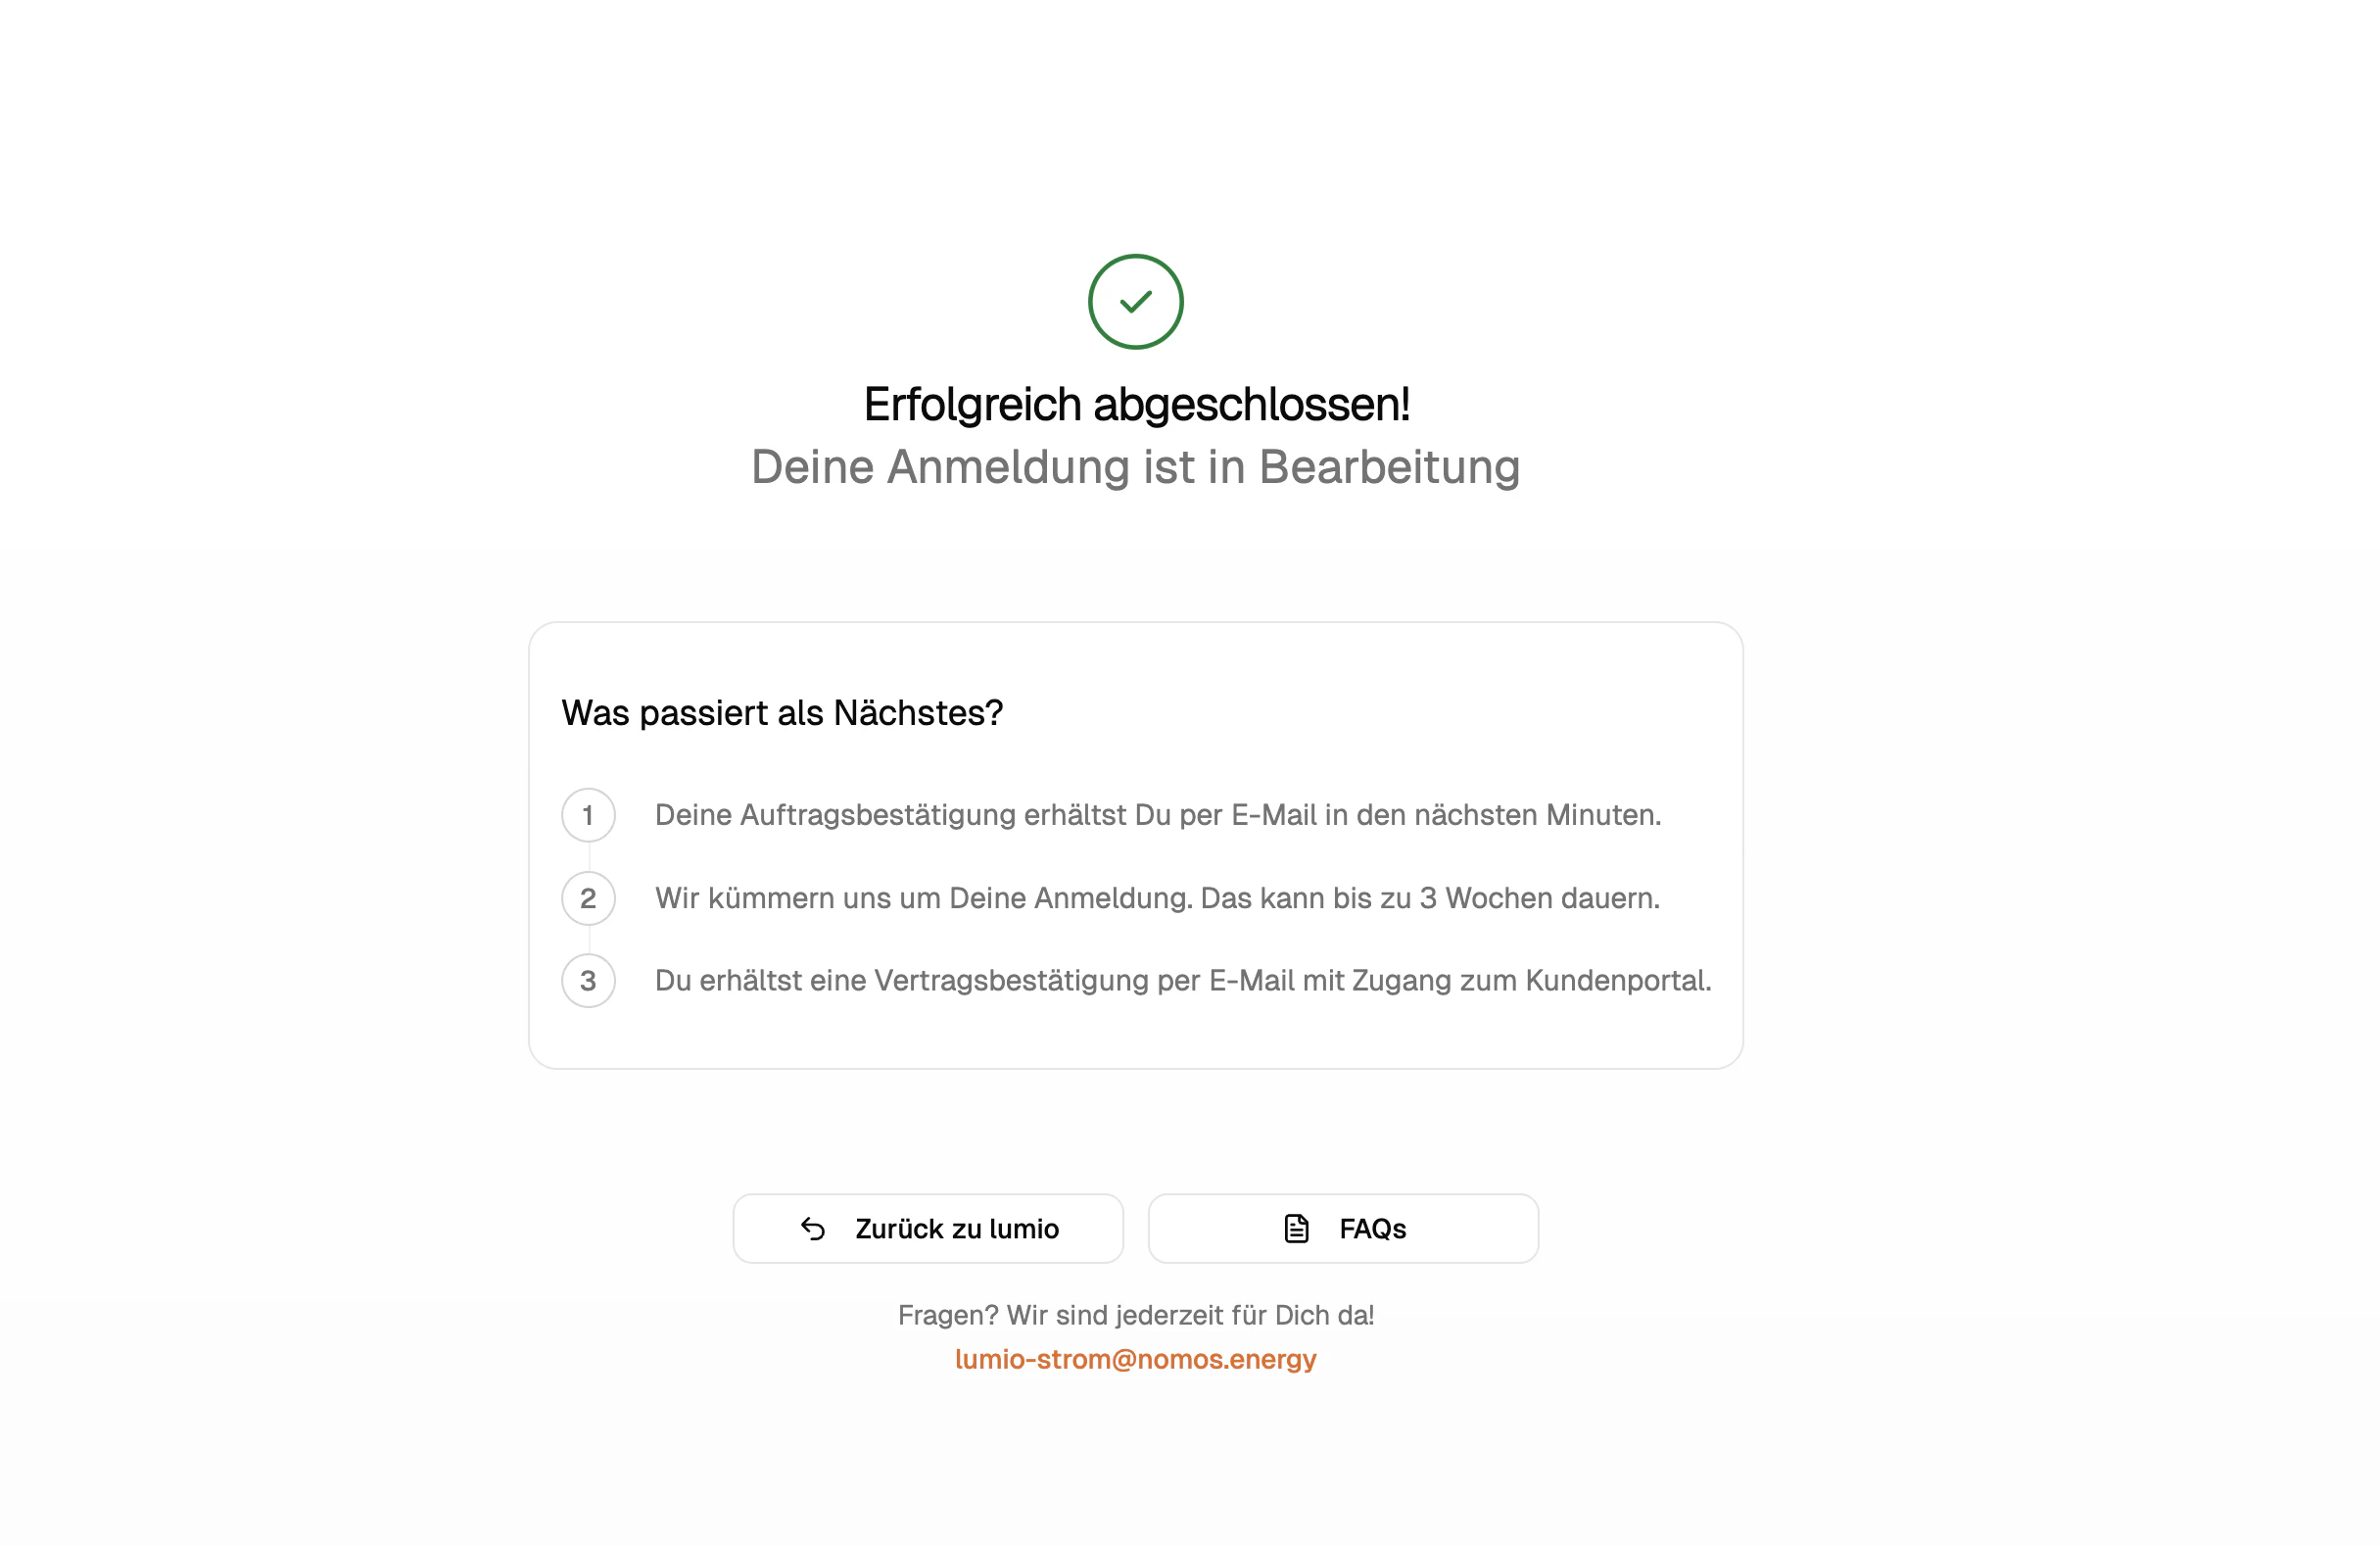
Default confirmation page, themed to your organization
plans.redirect_url. Nomos redirects there instead of showing the default page.
React on your backend
Subscriptions originating from hosted checkout are tagged withsource: "checkout", so you can distinguish them when processing webhooks. Two events fire over the lifetime of a signup, separated in time:
subscription.createdimmediately, when the form is submitted. Use it to provision your own user record.subscription.confirmedlater, once the grid operator has accepted the switch. Use it for confirmation emails and to unlock portal access.
FAQ
Can I use my own domain instead of checkout.energy?
Can I use my own domain instead of checkout.energy?
Not yet. Plans live on
{plan.slug}.checkout.energy. The subdomain reads
your plan slug, applies your branding, and serves the form.Can I customize the form fields?
Can I customize the form fields?
The form is fixed: address, supplier, household size, IBAN, marketing
consent. To collect anything else, use Build your own
where you control the entire UI.
What languages are supported?
What languages are supported?
Currently only German (default) in a formal (Sie) and informal (Du) setting.